Tutorial
Seven short chapters that build one game, Trench Run, from an empty folder to a game running on the console. You fly a ship around the rim of the disc and dodge the enemies that come down the tunnel at you.
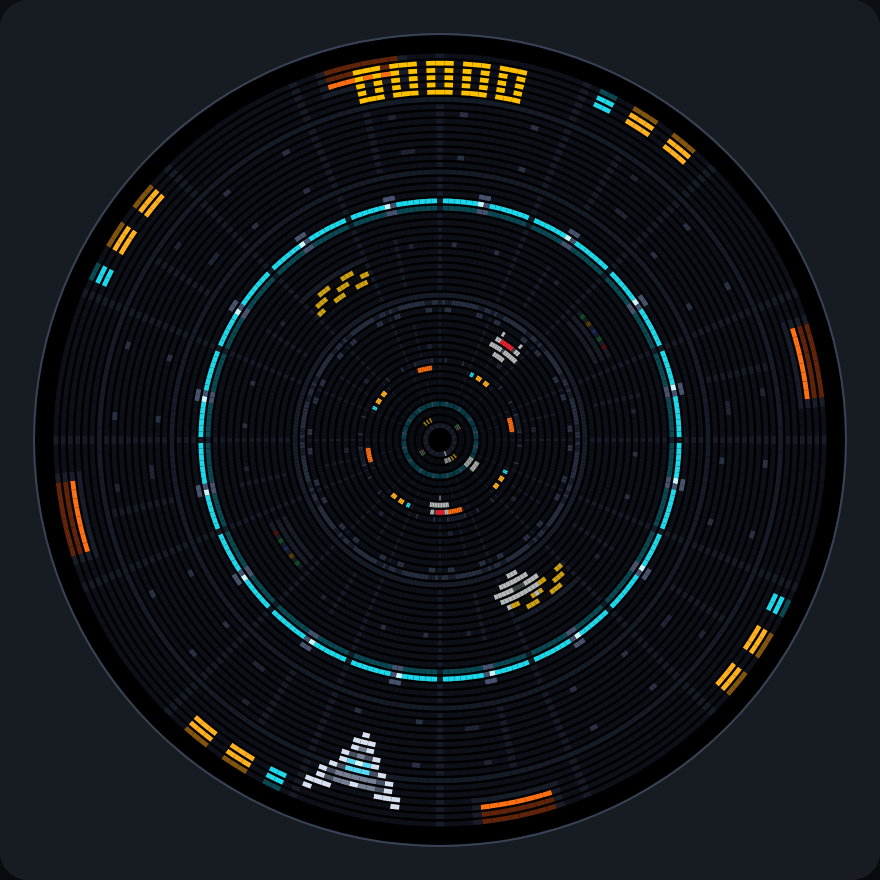
Trench Run, the game you will build.
Each chapter teaches one part of the API and ends with an In the game section that adds that part to the same file, so read them in order the first time:
Chapter |
You learn |
The game gets |
|---|---|---|
the folder, |
a ship you can steer |
|
X, Y, projections, draw order |
a ship that flies all the way round |
|
frames, collisions |
a ship that leans into its turns |
|
|
enemies coming down the tunnel |
|
tilemaps, labels, flips |
a scrolling trench wall and a score |
|
scenes, timers, audio |
a game-over screen, a title screen, sound |
|
limits, testing on the disc |
a finished game |
The finished game is in games/demos/tutorial_game/, and it shows up in the
Tech Demos menu. If you get stuck, compare your file with it.
Set up the desktop emulator before chapter 1. No hardware is needed to create and test the game; chapter 7 explains what must be checked on the real disc. Keep your game files in a local SDK checkout and run them with the desktop emulator as you work through the tutorial.
What your code runs on
Your game is written in MicroPython, a compact version of Python 3 made for microcontrollers, and on the console it runs on an ESP32-S3: two cores at 240 MHz and about 8 MB of RAM, which also holds your images. (Sounds don’t go on the console at all: the base station plays them.) That is a small, slow computer next to a laptop. One core runs your game; the other does nothing but drive the LEDs on a hard deadline.
Two habits follow from that, and the rest of the tutorial keeps coming back to them:
Keep
update()short. It runs about 33 times a second (every 30 ms, one tick), whatever the fan speed. A tick that takes longer delays the next one and the lost time is not made up, so a slowupdate()slows the whole game down.Do not create objects while the game runs. Python frees memory with a garbage collector, and the console has little memory for it to work with. On the console the collector only runs when a scene starts or ends, so anything you create every tick piles up until then, and a long game that does it can run out of memory in the middle of play. (The desktop emulator collects automatically instead, so there the cost is occasional pauses.) So the API has you create everything once, in
build(), and only move things afterwards.
The emulator runs the same code on a much faster machine, so a game that is smooth there can still stutter on the disc. Chapter 7 says what to watch for. Why VS2 works this way has the details.
What you are writing for
The Ventilastation display is a bar of 54 LEDs on a spinning arm. The physical output serves 256 LED columns per rotation. The current renderer projects the scene into two polar framebuffers and serves the ready columns independently of game updates. Your game works in circular coordinates, not with the physical LED timing.
That means the display is a disc, not a rectangle: X is an angle that wraps around, and Y is a distance inward from the rim that does not. Chapter 2 covers this in detail. If you want to know why the API is shaped the way it is, see why VS2 works this way.
Unlit space is black, and dark or black backgrounds work better on the real display, so the examples in this tutorial keep their backgrounds dark: empty space where there is nothing to show, and near-black tiles where a wall is. Test your colours and intensities on the real hardware before you share a game.
Terms like layer, sealed and strip are defined in the glossary.